AntiqueLures |
Restoration of Lures and Cardboard Lure Boxes
By Dr. Michael Echols
CONSERVATION AND RESTORATION OF LURES AND BOXES:
Note: Restoration or conservation of any kind of art is not to be taken lightly. Some prefer to leave their art as found, which is fine, but restoration in the art world is a high form of science and usually expensive. It is a full time pursuit by experts in museums. For extensive information on the art of conservation see: The American Institute for Conservation of Historic and Artistic Works
I know of an individual who can 'restore' a lure box to almost new condition by repainting the bleeds in the paper, cleaning, and re-boxing where necessary, but that is not what I'm attempting or sharing here. I'm simply sharing a way to 'repair' a small defect, not replace, re-build, or add to any part of the box.
The science of restoration is in repairing or restoring an object without altering its value or physical aspects. In this case, I am simply re-attaching two pieces of cardboard which are broken. It is no different than gluing a piece of glass or porcelain back together. We've all seen collectors/dealers at shows cleaning a lure for long periods of time before placing a new purchase on display. It takes time to do it right.
Replacing or repainting any part of an object is a whole different matter. In no way is this like repainting a lure. We are talking 'repair' not 'replacement'. Repair not repaint. There is a huge difference. I know any number of individuals who use this method using glue with great success and have done so for years.
Some individuals might beg to differ with me on this point, but let's not forget that dirt and grease are not normal and neither is rust. Yes, they are a consequence of age, but not original. Removing rust from hooks and cleaning original paint is restoration. Preventing oxidation with a coat of oil is conservation. Repainting to increase value is fakery.
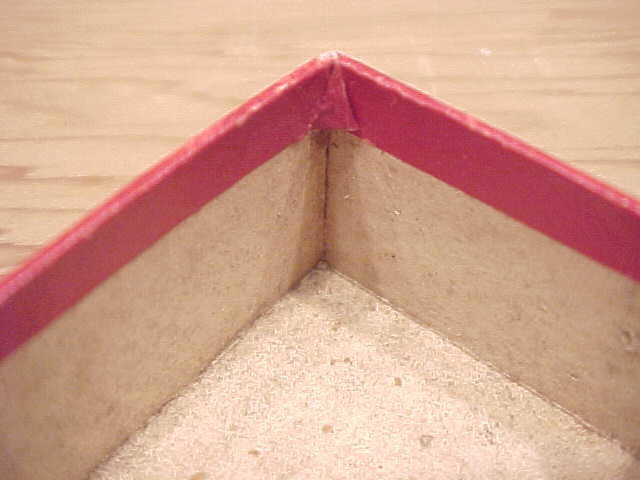
REPAIRING SPLIT BOX CORNERS:
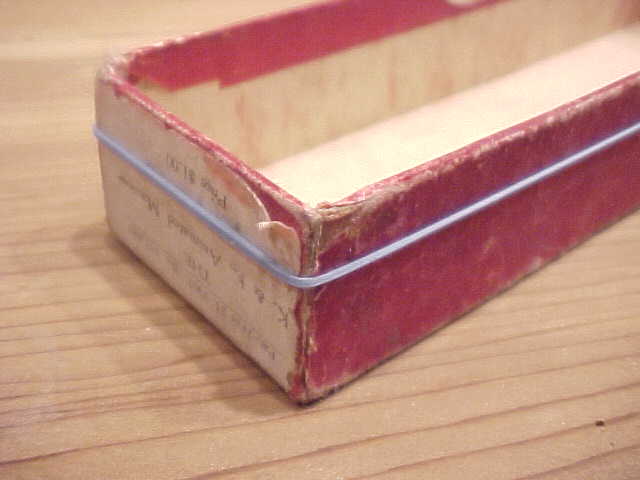
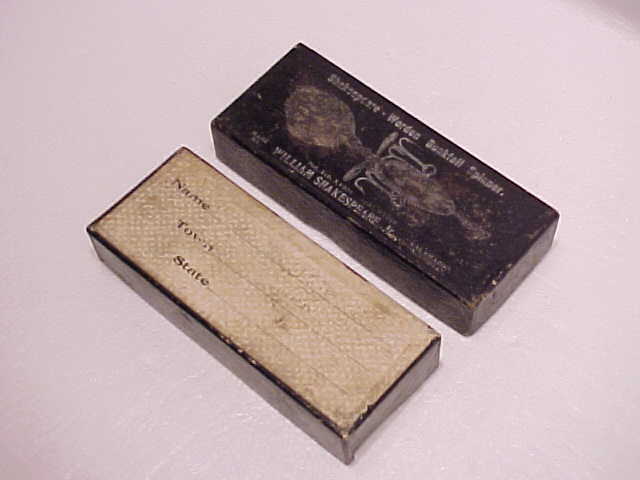
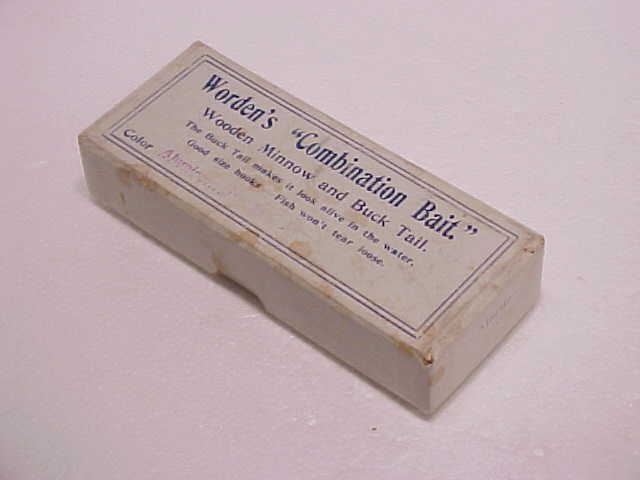
It is not uncommon to find nice lure boxes with the paper joints split on the sides and ends of the boxes. I'm going to attempt to explain how I repair that problem on lure boxes that I own. I strongly suggest you try this on some inexpensive boxes before you attempt anything like I'm showing here on a really rare K & K minnow box.
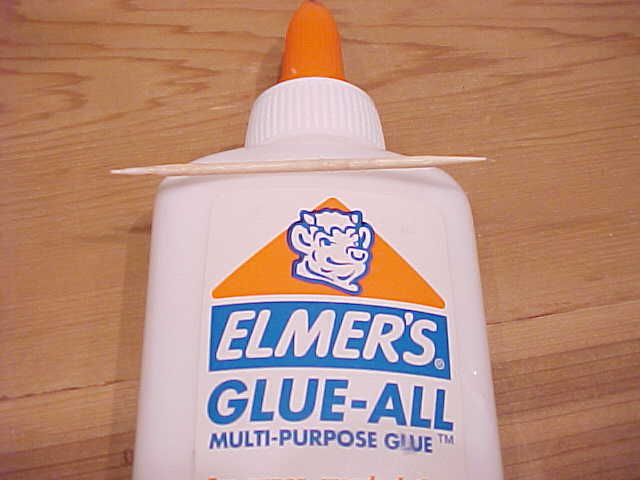
All you need is a long thin rubber band appropriate for the size of the box, some round toothpicks, a piece of news paper, and fresh Elmer's white glue or pH neutral (7.0) binding glue.
Elmer's Glue All is: 1,2-PROPANEDIOL (PROPYLENE GLYCOL) pH 4.7 in solution, only slightly acidic (pH 6.9 when dry). If you want to use book binding glue (animal or vegetable source). Apparently some restoration experts prefer to not use Elmer's since it is very hard on setting and could crack in a flexible situation or the acidity harm paper. In the case of a box corner, I want it to be as hard as possible, but not harm the cardboard. It's your choice which glue you use. The other reason I don't worry about pH is because I'm not gluing a flat expansive piece of paper, but rather ragged edges of porous fibrous cardboard. Another suggestion made to me is to use CA glue, which dries in 15 seconds, is invisible, and is very thin.
First, proximate the edges of the box where the joint is broken. Be very careful to put the edges together accurately. Now, carefully, put a rubber band around the whole box to hold the four corner pieces in place. Don't roll the rubber band against the paper as it will tear the paper sides or the label. Use the weakest rubber band that will work. The idea is to not 'bow' the box sides.
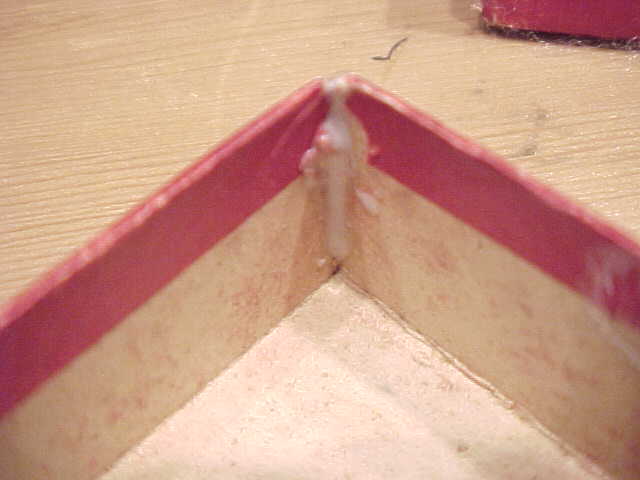
Put a drop of the glue on a piece of newspaper (so your wife won't yell at you later). Pick up a small drop of glue on the tip of the toothpick and spread (paint or draw) the glue into the joint a little at a time from bottom to top. Don't smear the glue any further than necessary to avoid build-up. You just want a small line. But the glue has to span both sides of the joint.
In the photo below, the line looks kind of heavy, but I went back and pulled the dry tip of the toothpick from bottom to top to reduce the amount before allowing it to dry. You can see the joint after it dries below. This technique just takes experience in seeing what works.
First application of glue. Before shrinkage
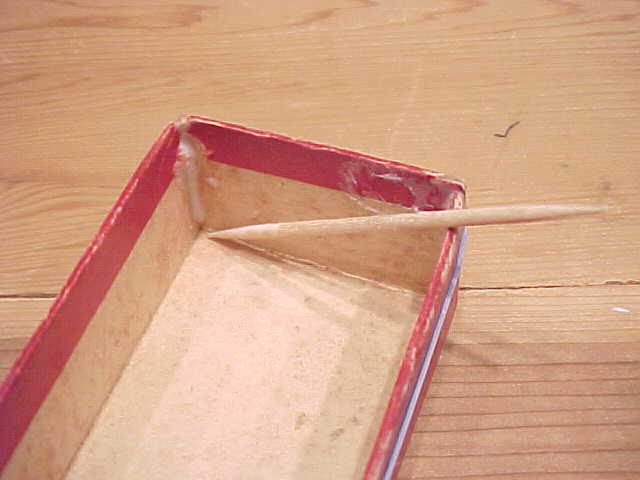
After doing the inside of the joints, place some more glue on the outside of the joint without moving the rubber band. Put the box aside and allow it to dry for about two hours. Then carefully remove the rubber band without rolling it against the paper and re-do the outside of the joint as needed where the rubber band was placed.
During application, remove excess with tip of pick
Do NOT put the top and bottom of the boxes together until the whole box has sat up and dried for a day. The joint should not show the glue as it will absorb into the paper of the joint as it dries. This photo below shows a joint after only a half hour. It still appears wet, but it will completely dry in about an hour.
After drying for one hour
This same technique works with labels and other paper tears or where the paper has come apart. If you are doing a larger area of paper, more than an edge, you most likely should look into using a neutral pH glue.
Cleaning box paper surfaces
Removing pencil marks is relatively easy. Use a gum eraser (not the hard green type, but the ones that feel kind of gooey and are amber color) and lightly rub the marks. Although I have never tried it, I hear bread can be used to rub out oil and dirt. I've used a soft cloth and cleaned with light soapy water on paper, but again you have to be extremely cautious in doing this kind of thing. Maybe try it in a corner with a cotton swab first.
There are some chemical powders which can be used to lift oil out of paper, but I've never done it. You can look for information on conservation and restoration source on a web site called The Gemmary. They are a supplier of conservation material.
Correcting water damaged (wavy) sides
A new box has hard straight surfaces, whereas one which has been wet will get wavy and rumpled. If you really want to tackle this problem, it can be done. Essentially what you have to do is build a two piece wood or non-porous hard plastic block press. One half of the block has to fit within the original cardboard box, spanning the full dimension of each panel of the interior of the box. The other half of the block is on the outside. The two pieces are then held in place for drying with a parallel clamp. You have to create a block for each dimension of the inside of the box and then treat each panel individually. The size of the outside block is not critical as there is no problem for the exterior dimensions. You have to be careful not to squeeze the cardboard too hard, but just enough to re-set the paper while it dries.
As you can see, this is a big project and not to be taken lightly. It's why conservators charge so much to restore paper. Try it on a cheap box before trying a valuable one.
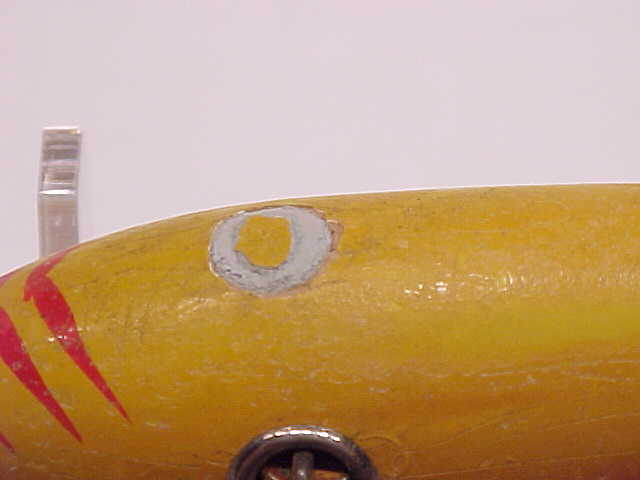
Protecting chipped belly weight paint
If you collect early lures, you most likely have had a problem with belly weight paint popping off. Nothing will make you as sick to your stomach as seeing a pile of paint under a beautiful lure due to the paint coming off the belly weight. Prevention is the by-word. Avoid moisture changes. Store your lures in a constant temperature and keep the humidity constant.
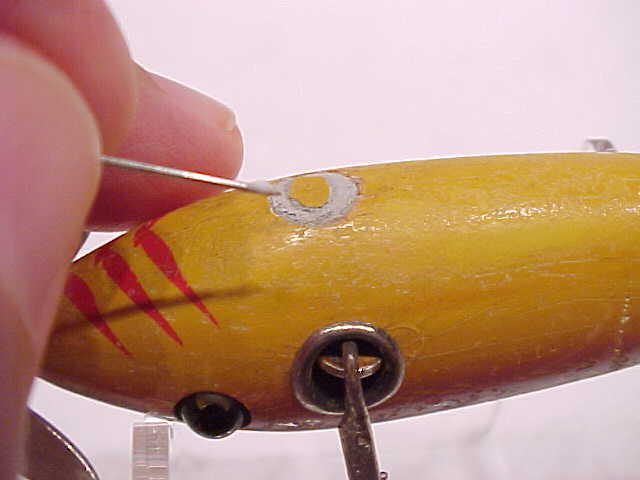
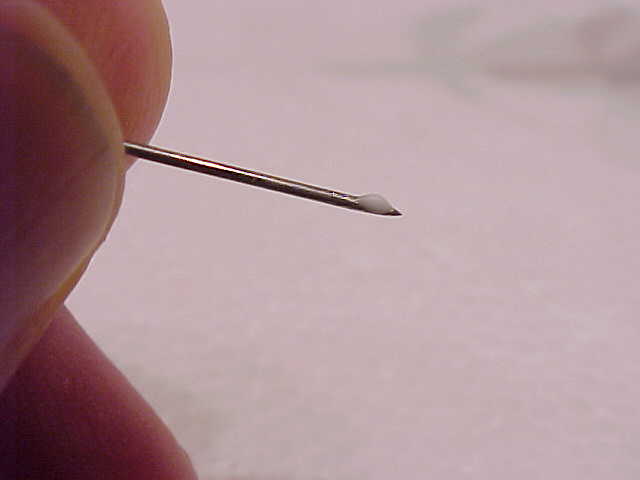
For this conservation, you can also use the toothpick or a straight pin and Elmer's glue to carefully 'paint' and seal the circle edge where paint is broken around a belly weight on a lure. You want to use the least amount of glue possible to do this delicate job. It should be in the crack only, not out on the paint. It's a sealant.
In the photos below, a large ring has formed around a belly weight which is caused by the corrosion of the lead weight. Left alone, this last bit of paint chip will be lost. Placing a little 'sealer' around the ring will help preserve the paint chip and prevent additional damage. When dry, this 'sealer' cannot be seen as the amount should be minimal. Ideally this should be accomplished before the destruction progresses to this point. If necessary, you can dilute the glue prior to application to make sure it flows into the crack. If you seal off the crack as soon as it forms a ring around the belly weight, you may be able to preserve the original paint in tact. Under no circumstance should you ever 'coat' a lure with a 'preservative' or any kind of lacquer. This will totally ruin the value of the lure. Again, you are trying to preserve, not repaint or replace.
Tacking down the original paint should be done very carefully and allowed to dry thoroughly before any cleaning is attempted.
CLEANING LURES:
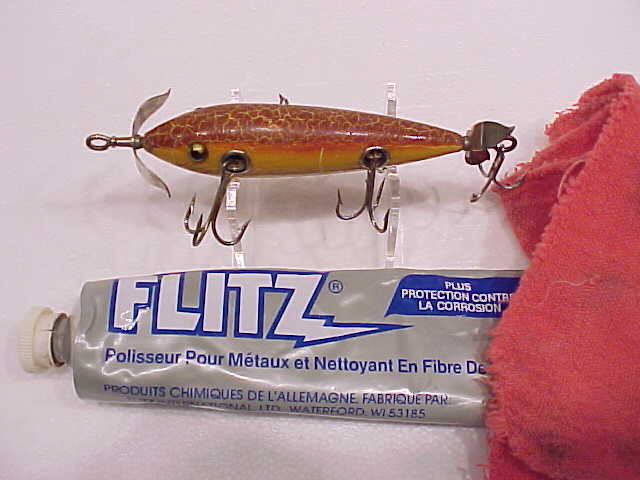
Cleaning can be done with any number of techniques, but I prefer to use a soft rag and cotton swabs to clean superficially using Flitz compound since it is not abrasive, but a cream. If you have a lot of heavy crazing of the paint, then avoid Flitz as it will get in the cracks. In that case, use a cleaning rag like Wonder Cloth.
A word of caution: don't clean lures like 'Experts' or early paint which doesn't have a lacquer coating as found on Heddon or Creek Chub lures. Cleaning early miscellaneous lures or early Shakespeare lures is to be avoided unless you are dead sure you know what you are doing. If in doubt...don't. It's a lot cheaper than the alternative.
I don't clean hooks, but I do clean all other hardware when possible without disassembly. I never disassemble any lure to clean it. NEVER. If you do, you are asking for a paint chip which will devalue the lure.
If you want to clean hooks, you really have to remove them to do it right with a hand held Drimmel or other rotary engine. There are chemicals which will remove rust and corrosion, most of which are hydrochloric acid based. If you use these chemicals, do so with great care and avoid use near the paint. Again, I don't remove hooks or do more than what Flitz or other cleaning agents will do with a cotton swab.
Return to AntiqueLures homepage